Wednesday, August 31, 2011

Deals From MCC (Once Again!)

So while out visiting a good friend in Amaranth, I was able to get into Portage once.  My first stop?  My favorite thrift store in the whole world, and wow, did I do well!!  I got tons of stuff for the classroom, and even a couple of things for myself.  So, what did I get?


  • 34 kids books
  • 1 hockey net
  • 3 craft packets (to be used as prizes)
  • Operation Game
  • Cranium Game
  • Sorry Game (Disney Edition)
  • Scrabble Junior Game
  • Mousetrap Game
  • Trouble Game
  • CSI mystery puzzle
  • A picture frame (that needs to be redone)
  • 2 vintage canning jars (so vintage they're blue)
  • 1 old tin
  • 1 teaching book
  • 1 legal folder container, containing hanging legal folders

I paid just under $50, and I really think that had I bought these things new, I would have paid easily over $500.   Here are some pictures of what I got!


Organization Bins/Drawers: Before and After

So in my search for better (and cuter) organization, I came across a couple of pictures that wowed me.  You know how in your bins you can see right into them?  I don't know if you're like me, but sometimes it can end up looking messy inside due to various materials.

The idea?  Place scrapbook paper on the inside of the front of each of the bins!  What  you'll get is this (though there is one last step missing, little tags to announce what's inside-I'll have to pick that up from the city the next time I'm in):


How do you do it?

1.  Measure each bin with a ruler.  Measure it's width and height of the drawer.  Cut out paper needed for drawer.

2.  Place paper inside the drawer with the patterned part of the paper looking towards you (so you can see it through the clear bin).

3.  Use transparent tape to secure paper to bin; at sides and bottom.

4.  Attach a label to the front of the drawer to show contents.  As I'm waiting to buy these, these are some examples that you could use:


Now one snag that I ran into was that the inside of my drawers weren't flat.  I worked around that by mac-tacking the inside part of the paper just to give it an extra bit of protection.

I plan to do this with a few others I have, but pretty cute I think!

Monday, August 29, 2011

Taming Fly Aways

So I don't know about you, but when I vacation, I don't like lugging my big bottles of shampoo  and conditioner around.  They are BIG.  I had planned on buying something when I reached my friend's house, but she had extra shampoo/conditioner that I could use.

There wasn't anything wrong with what she offered me, it was just a combination shampoo/conditioner, which my hair wasn't used to.  After blow drying my hair I noticed lots of fly aways.  My quick fix solution?  I put about a pea size amount of lotion on my hand, rubbing it over the entire surface of my hand, and then smoothed it over my hair.  Fly aways were no more!  So, what's your trick??

Sunday, August 28, 2011

Vacation Time Nearly Over

So my vacation is nearly at an end.  The dogs and I head back tomorrow morning with the truck full of things for school.  I got some awesome deals and will be showing them off in the days to come!  It's been quite relaxing and just what I (and the boys) needed!  Coby got to run his heart out in the huge fenced in back yard, while Milo got to learn to be more okay with hanging with other dogs.

I didn't get really any pictures except for two (I discovered my camera is really on the fritz). Here are two taken from the pow wow with two of my former students!


This is Cheyenne and I; Cheyenne is a Jingle Dancer as evident by the Jingles on her dress!  Cheyenne is now entering Grade 9.

This is Daphne and I; Daphne is a Fancy Dancer, which is evident by the shawl she is wearing.  

I had a great week though hanging out with my friend Becky and seeing lots of other friends from Sandy Bay.  It'll be good to get home though and get ready for the start of school just around the corner though!


Wednesday, August 24, 2011

On Vacation

Hi all,

Just a little note that I'm on vacation this week and won't be blogging. I promise there's to be some good posts especially with school coming up shortly!  Stay tuned!

Thursday, August 18, 2011

What a Great Line-Up Bulletin Board Idea

In my search for a great start of the year bulletin board, I came across the idea of placing paper t-shirts on a clothesline with the saying above it of, "what a great line-up!"  I loved the idea.  I thought it was cute and I thought the kids would get a kick out of coloring their t-shirts!

I'll apoligize in advance for the bit of bluriness-I only had my cellphone on me.  I'll post another picture once the kids have colored their shirts.


I prepared my bulletin board first by adding the backsplash and border.  I then added the "clothesline", which was silver cord I had in the closet.  I attached it to the board simply by stapling it about three times on each side.  The t-shirts I made from manilla tag and placed each student's name on the t-shirt.  The clothespins I had picked up from Wal-Mart a while back, which cost me only $2.  I colored each of the flat sides of the clothespins with a red Sharpie (gotta love a Sharpie).  I then hung each shirt, with a clothespin on each shoulder.  I did two lines, with names being in alphabetical order.  I'm really happy with it, other than a concern about the title not standing out enough.  I may need to use some different letters to make it stand out better.  Total cost for this project?  $2.  I think this is officially the cheapest board I've ever done!


Tuesday, August 16, 2011

Cheap Backboard Material for Your Bulletin Boards

So while some of my American friends have already started teaching, our school year here in Manitoba doesn't start for about another 3 weeks.  I've been in my classroom every day attempting organization.  How's it going?  Well, it's going.  A bit slow at times, but it's going.

Today I started concentrating on my bulletin boards, and I thought I'd share with you all what I did.  Before coming to Waywayseecappo, I'd never encountered anyone who used this particular material for their bulletin boards.  In the past when I haven't been able to get material from the school, I'd use fabric, which could get a bit expensive.  When I came to Wayway, I was in the middle of nowhere and not sure what to use.  I don't like using regular paper as kids will destroy it.  The librarian Barb, said I have something for you, and returned to my classroom holding tablecloths.  Tablecloths?  Yup, but not fabric ones.  Plastic ones that you can easily buy at the dollar store.


These particular ones are $1 each from Dollarama.  I had bought four a while back.

I should have taken pictures, but they are easy to put on so a lot of explanation shouldn't be necessary.  Start with one table cloth and one bulletin board.  Unfold table cloth and attach table cloth to bulletin board, stapling along the top.  As you go to staple the sides and bottom, make sure you're smoothing the material as you go.  I tend to secure about every 4 inches.  What you'll get is this:


Which as you do your other boards, will look like this:


Just don't mind the mess!

Happy Bulletin Boards!

Saturday, August 13, 2011

Little Memo Books = Great Gifts!

So I was lucky enough to have a friend from my area go into the city and pick me up something at Staples.  What was it?  It was little mini memo books, that were on sale for only 10 cents a pack (2 in a pack).  They are regular $1.98 per package!

You might be thinking why would these be worth my time and money?  Well, kids love them!  Some of my students bought some similar ones (though much more expensive) through the book orders last year, and they were the hit of the classroom.  So while I'm going to use them for prizes and rewards, you could use them as a stocking stuffer, party favors, or even for grocery lists!

The sale runs to Tuesday, August 16.  To make sure you can get them in your area, head over to Staples' website, enter your postal code and then click on the in-store flyer!

Happy Shopping!

Friday, August 12, 2011

Commenting

So a friend informed me today that she wasn't able to post comments which explains why I've gotten some comments on my facebook page!  Just to let you know that I fiddled around and now everyone, no matter if you have a google account or not, can leave comments...

And to the few that I missed comments to...I am sorry...for some reason I never saw them (they were not uploaded into my email account), but I now know how to find them easily through the blog now. A chair tutorial will be posted soon for those interested!

Thursday, August 11, 2011

Inspiration for a Beach Cake

My E.A. and I have decided to take on birthday cakes this year for our students.  We'll celebrate each month of birthdays with a cake for all to share.  Being that school starts in September, I figure that we'll celebrate July and August all at once for the first day of school.  When I think of the summer, I think of the beach, the water, the swimming.  So, that's my plan...not entirely sure exactly what I'm doing-I know I'm thinking rectangular, and making a pool out of gelatin, but beyond that, not a lot of thought.  Here's some ideas not only for me, but for you too!

Sugarlicious shares this design. I love the people-so lifelike!


One person shared this neat idea of decorating graham teddy bears as snorkelers and using fish crackers...I love it!


Frazi came up with the design.  I'm so digging the sand, which just uses crushed graham crackers...it totally looks like sand!


This next one, I can't find the designer, but it's beauty and creativity really wowed me.


Allison at Cakes by Allison posted this incredible 3 tier cake that I thought was so elegant yet so pretty. 


Any of you tried beach themed cakes?  What were some of your ideas?

Monday, August 8, 2011

Chair Reveal

So I am so excited to finally show a reveal to you..well sorta.  It may look finished, but I still have to screw the seat down (I need to find that particular screwdriver-it might be in the garage).  So I've shared this chair with you before, at least what it looked like.  Need a reminder?


Pretty sorry looking eh?  I liked the lines though and I thought I could redo it...

So with a lot of effort, I managed to turn this chair into this:


Ignore the internet box in the background and the ugly curtains, but I think it turned out really great!  I used Behr's Delicate Lace, and though I love the color, I hated the paint for furniture (tried it on other pieces too).  It was quite hard to work with.

The fabric and new cushion that I bought came from Fabricland.  It took a couple of trips as I initially bought too little of fabric.

In total, including the cost of the chair, the makeover came to about $50, with the foam taking the biggest chunk of the budget.  The dog, is priceless...


Featured on:


Job Charts and Classroom Library

In my classroom this year, I am determined to get more of a grip on my organization.  Last year, I was pulled into the classroom with only two days notice, which was spent moving across the province.  Needless to say, everything I did was day by day.

Now that I'm permanent and can really plan ahead, I'm doing just that.  This weekend was spent making cute scrapbook cards for my classroom library and job roles.  These will be laminated to protect them.  The next step after that will be to apply magnets for the job roles (I have 5 white boards) and then for the classroom library, apply Velcro to attach the cards to the buckets.  So while I'm not completely finished, I wanted to share with you the pictures...Enjoy!
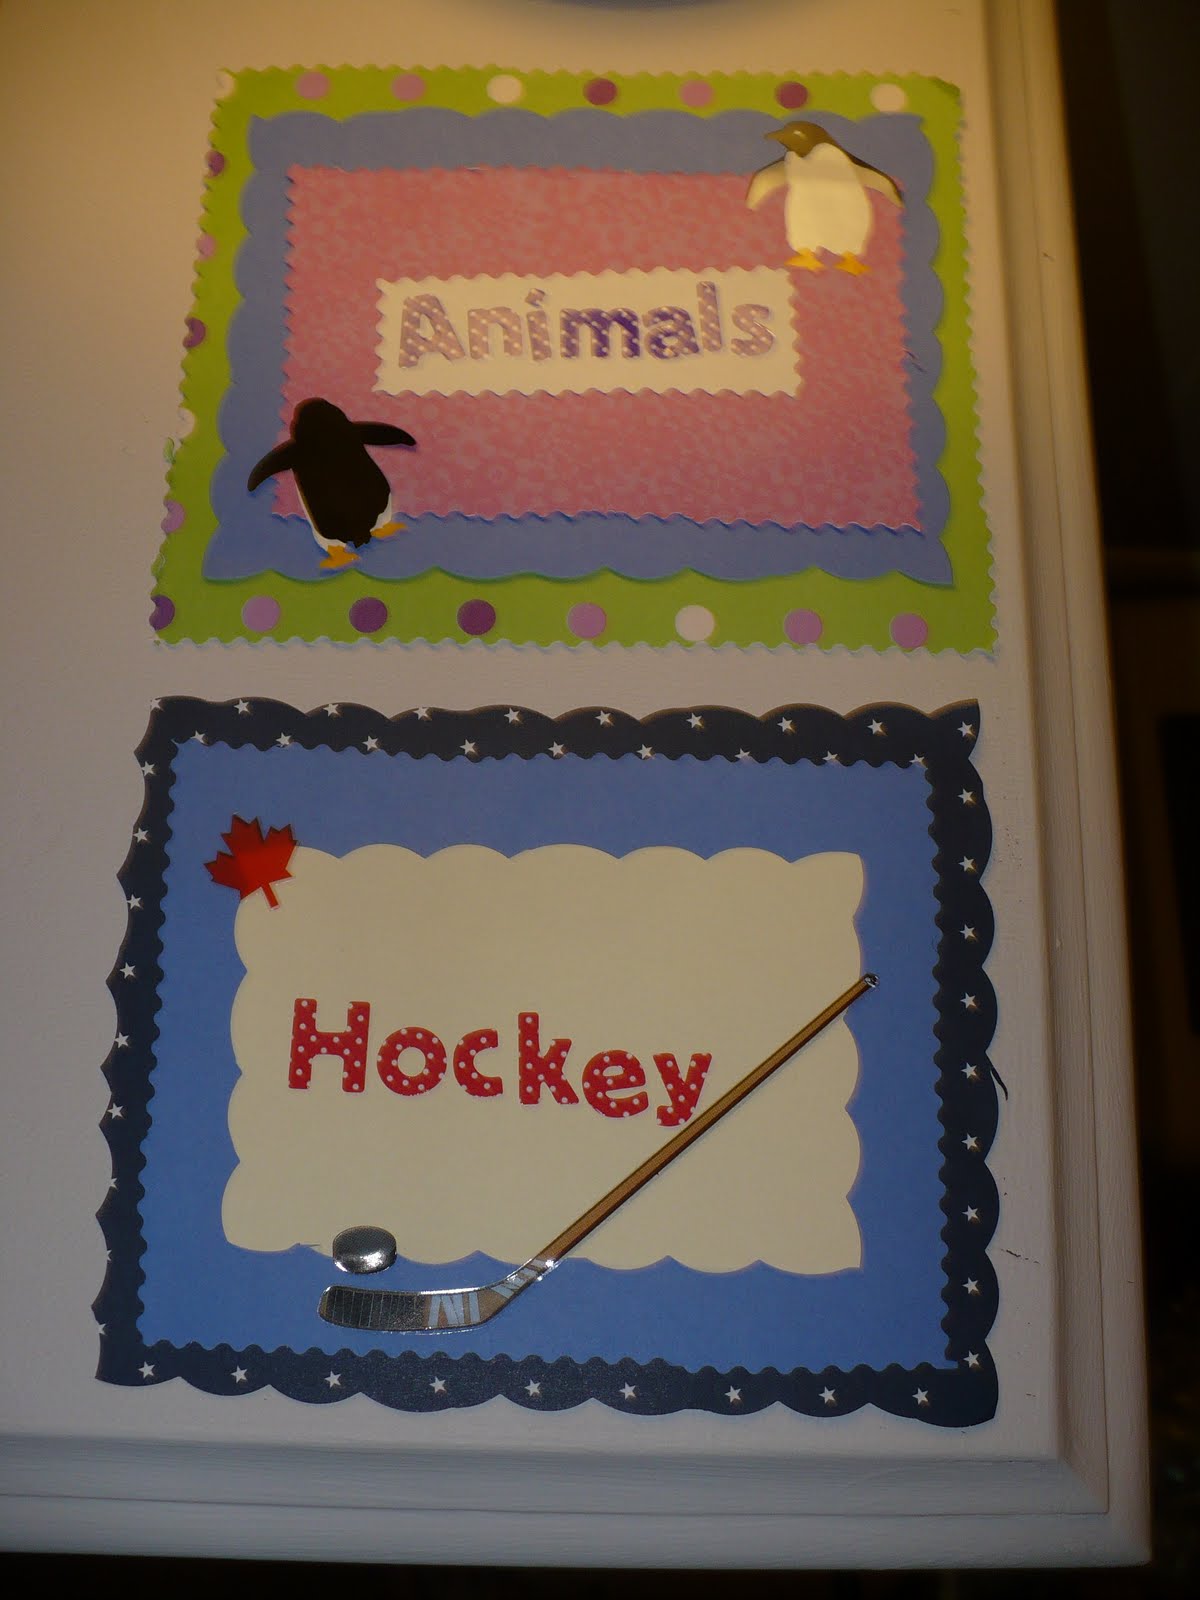
Classroom Library:


If you're wondering why there are colors, I label all my fiction books by level:  yellow for easier reading, blue for middle of the road, and red for harder reading.  I stopped labelling last year and surprisingly, students didn't like it.  I thought they didn't follow it because they would never be put in the correct spot!  I definitely plan on adding more labels as needed.  Oh, and if you're wondering about why I chose hockey instead of sports, my kids are fanatics about hockey, not sports per se!
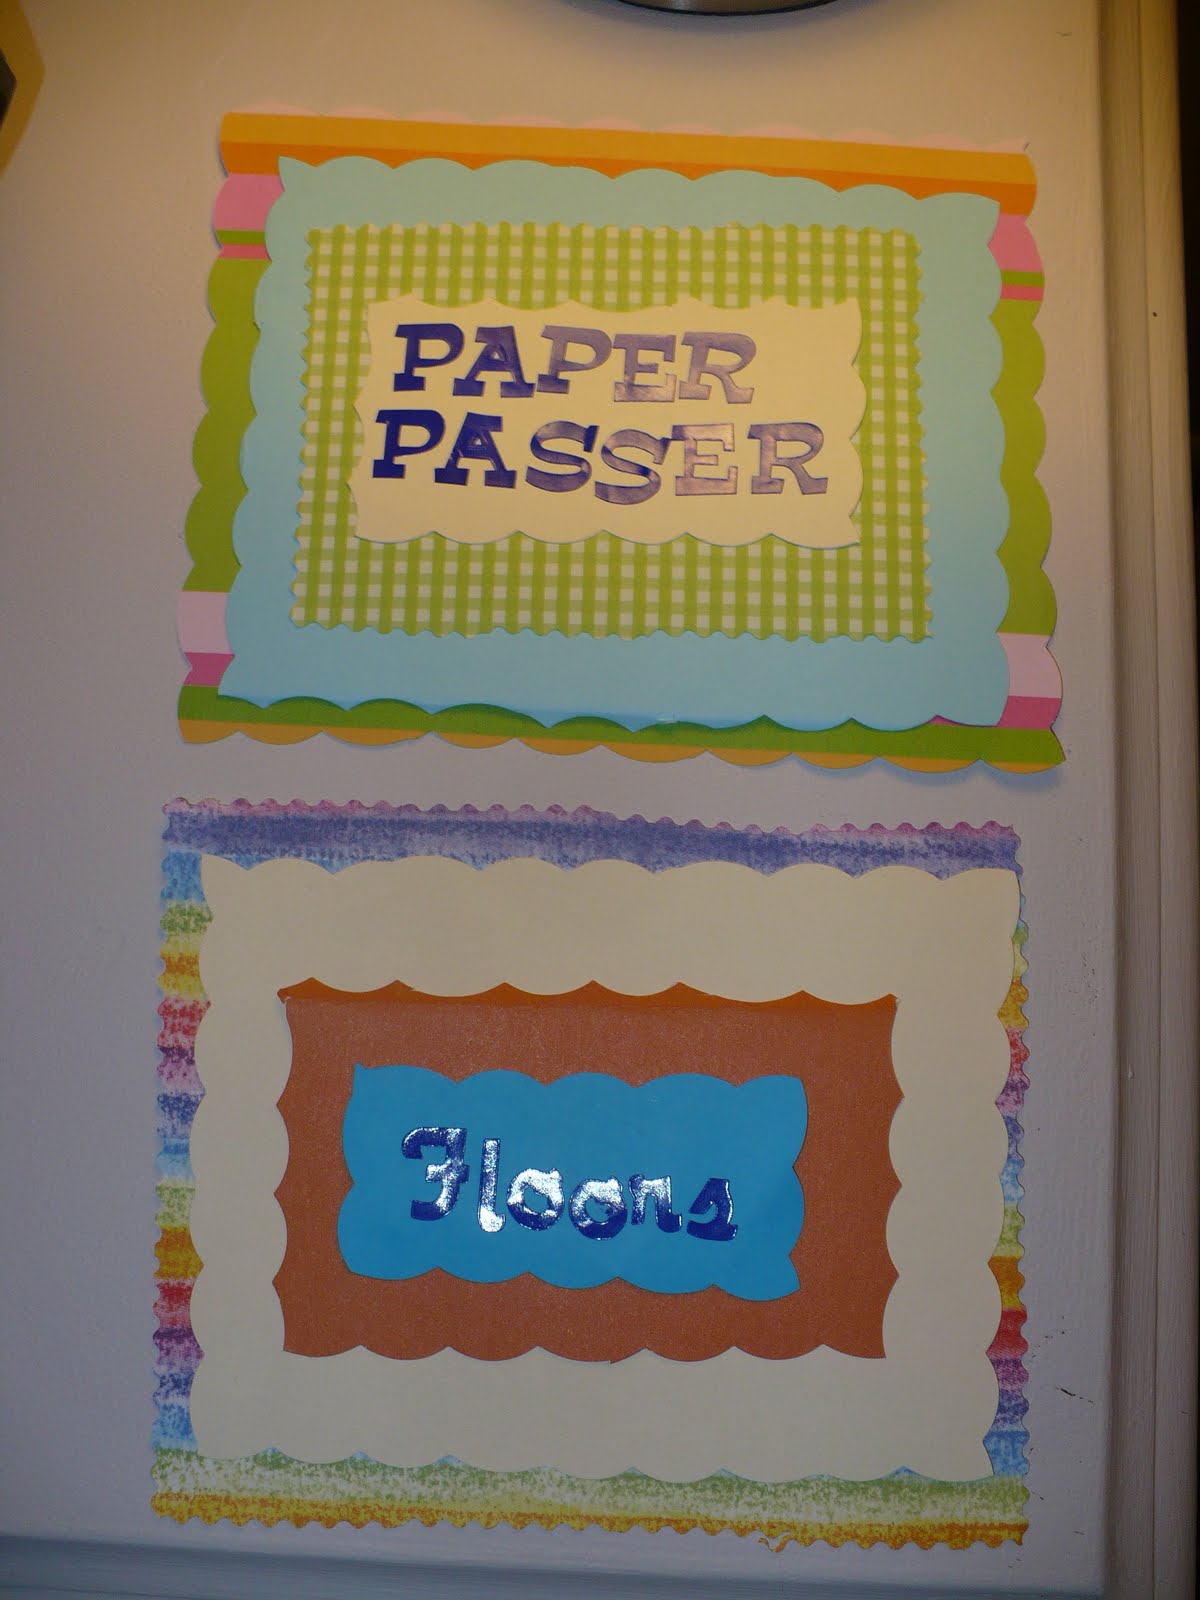
Job Charts:


As we usually have students missing each year, our job chart definitely required substitutes.  We don't have guinea pigs yet, but I made it for the day when we're ready for them!

Bean Bag Schedule:


We also have bean bag chairs, as part of our classroom library.  They are quite popular and without a schedule, they create a lot of problems!  One of the issues that we ran into last year was that while it was written on the board, students names would sometimes get erased.  Hopefully, this won't happen.

What's missing?

Right now, I'm making name cards for the bean bag schedule and the job chart, which will also be laminated.  When everything is done and up, I'll show you all the pics!

Wednesday, August 3, 2011

10 Buck Couch

So a while ago, I picked up a couch for only 10 bucks through ebrandon.  If you're not familiar with ebrandon, it's a site that is similar to kijiji, but also includes news, forums, etc.  Ebrandon covers not just Brandon, but the Westman area and then some.  It stretches from the Saskatchewan border east to MacGregor, and from the American border all the way up to Onanole.

Is it my dream couch?  Nope, not by far.  It's simply something to do until I can save for what I want.  In the meantime, it's usually covered by a bedsheet due to the dogs hair though.  However, after not having a couch for over 7 months, the dogs and I do agree it's quite dreamy to sit upon!!

Tuesday, August 2, 2011

BeGood2Me #1

A day late posting, my first "project" was a collage.  I figured I should focus on something to represent the last many months, and surprisingly enough, everything that I came across in magazines represented the positive, rather than the negative.  I took it as a sign that maybe it's about looking back at the positives and keep moving forward.


The collage is represented by a picture and words.  Rather than explaining it, I'll let you figure out what it means.  So first project completed, and it felt good sitting down and just reflecting!